GROWING TOMATOES IN NYC
We’re pretty obsessed with tomatoes here at Brooklyn Grange, so much so, that we grow over 5 varieties across our rooftop farms. Tomatoes are also a fan favorite and every year, we get questions from urban gardeners on how to grow tomatoes in New York City. Follow Gareth Stacke, our Navy Yard Farm manager as he shares tips and tricks on how we tend to this crop on our farms and how you can grow them at home!
CHOOSING WHAT TO GROW
The not-so-secret key to a successful growing season is spending time in the “off-season” planning ahead. While winter requires us to exercise a different set of muscles, it’s just as important to us as the summer months. During these months, we hunker down and put our brains together to reflect on the past season and develop crop plans for the following year.
DETERMINATE VS. INDETERMINATE: One of the common tomato classifications of tomatoes are determinate or indeterminate which refer to their growing patterns. Determinate tomatoes reach a certain height and stop growing and indeterminate tomatoes grow like a vine. Indeterminate varieties yield more fruit, take up more space, and thus, require more pruning and trellising.
Across our rooftop farms, we grow a variety of tomatoes including cherries (sungold, bumble bees, sakuras), heirlooms (black krim, prudens purple, striped german) and red slicers (BHN, celebrity). When choosing which varieties to grow, we consider a number of factors: taste, resistance to disease, yield, their ability to hold post-harvest, and whether they’re indeterminate vs. determinate. Given that we distribute our vegetables through a number of outlets, it’s important that we’re able to grow crops that are consistent with adequate shelf life.
First-time growers: We recommend starting off with Early Girl — a popular red slicer variety that is both delicious and forgiving! Because of their early vigorous establishment and tolerance to drought, they’ll hold on their own if you decide to skip town for a long weekend or forget to water.
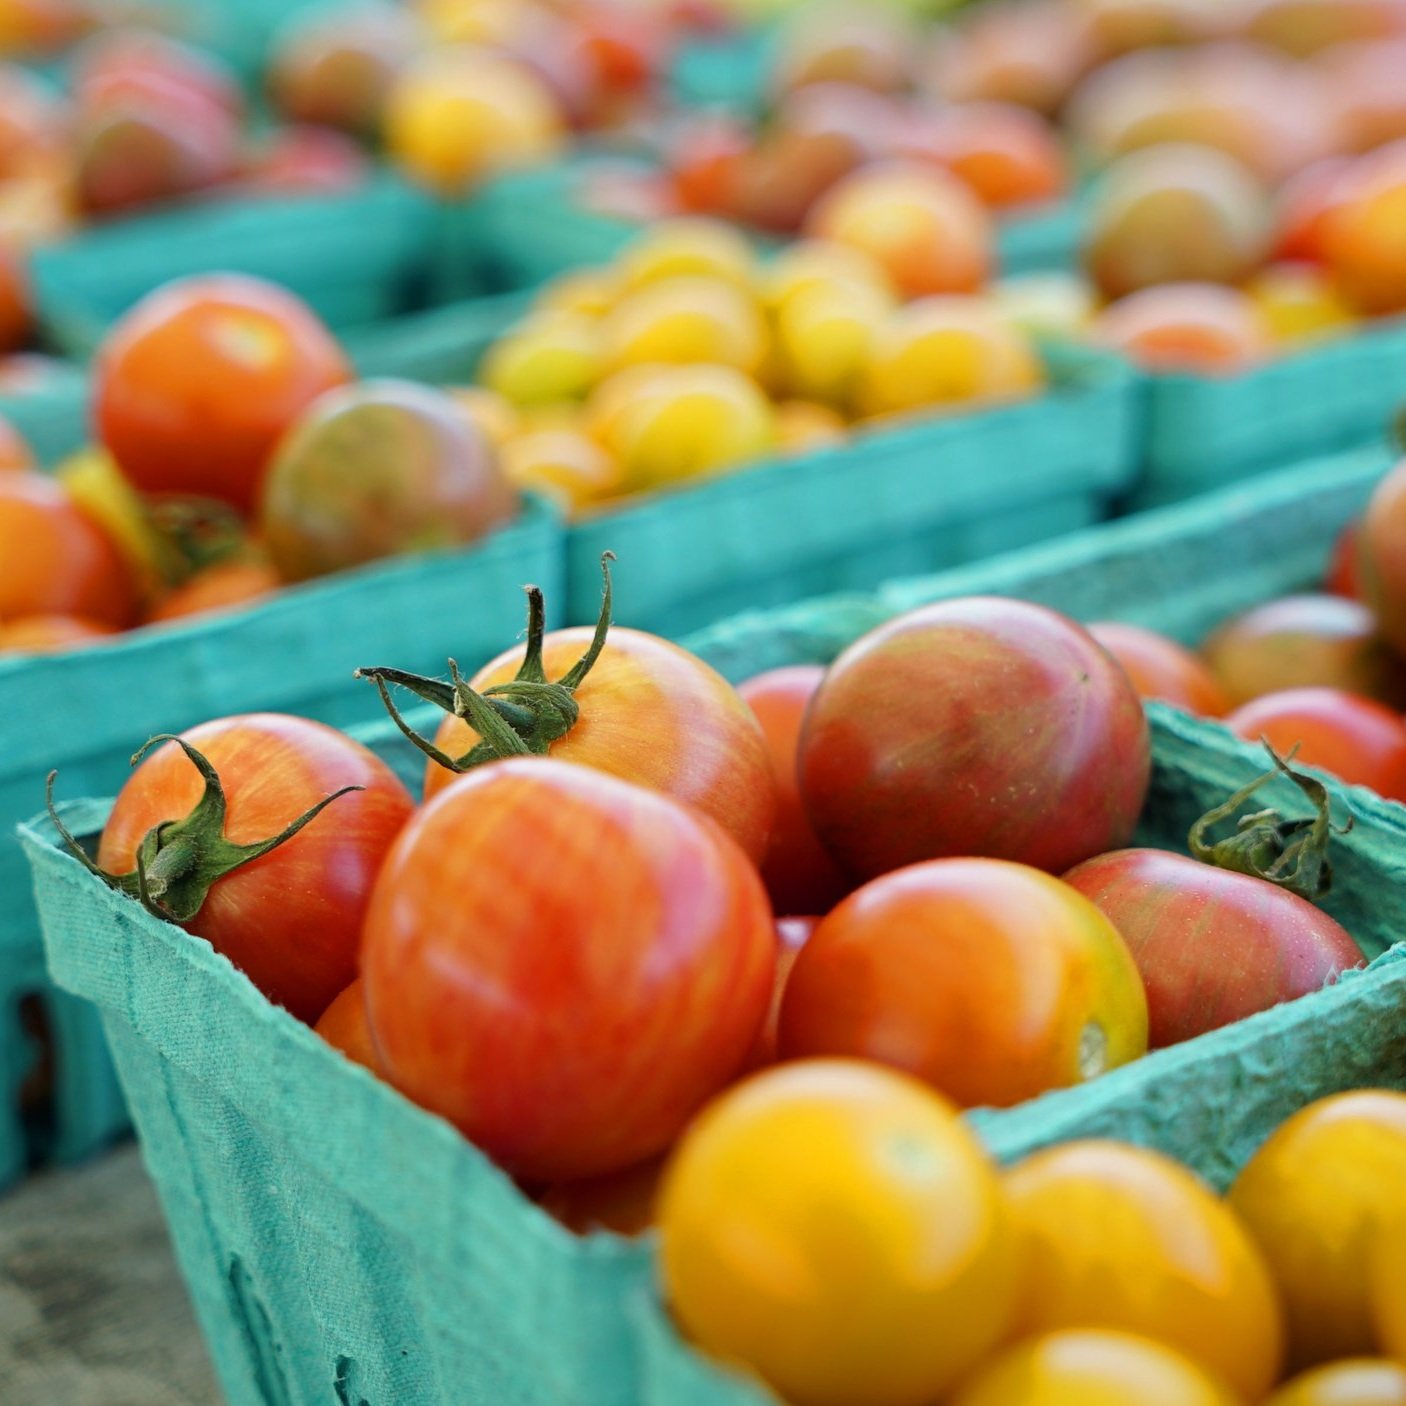
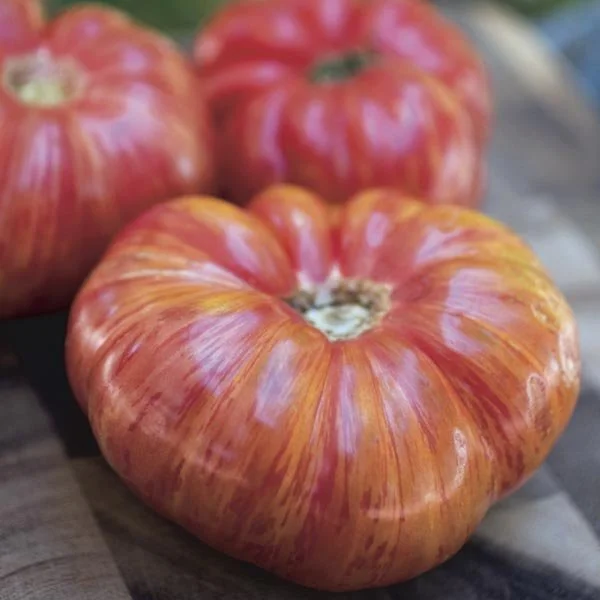
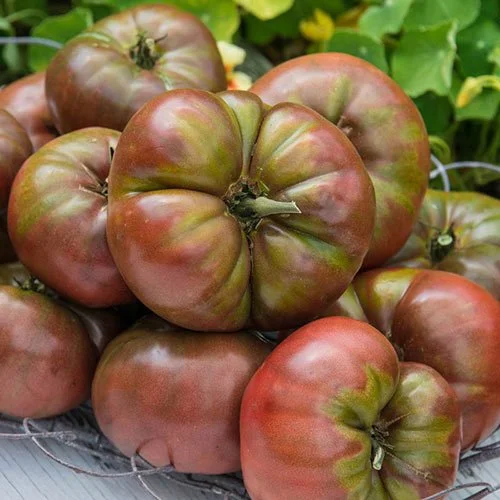
Left to Right: Sungold (cherry), Striped German (heirloom), BHN (red slicer), Black Kirm (heirloom)
SEEDING - EARLY SPRING
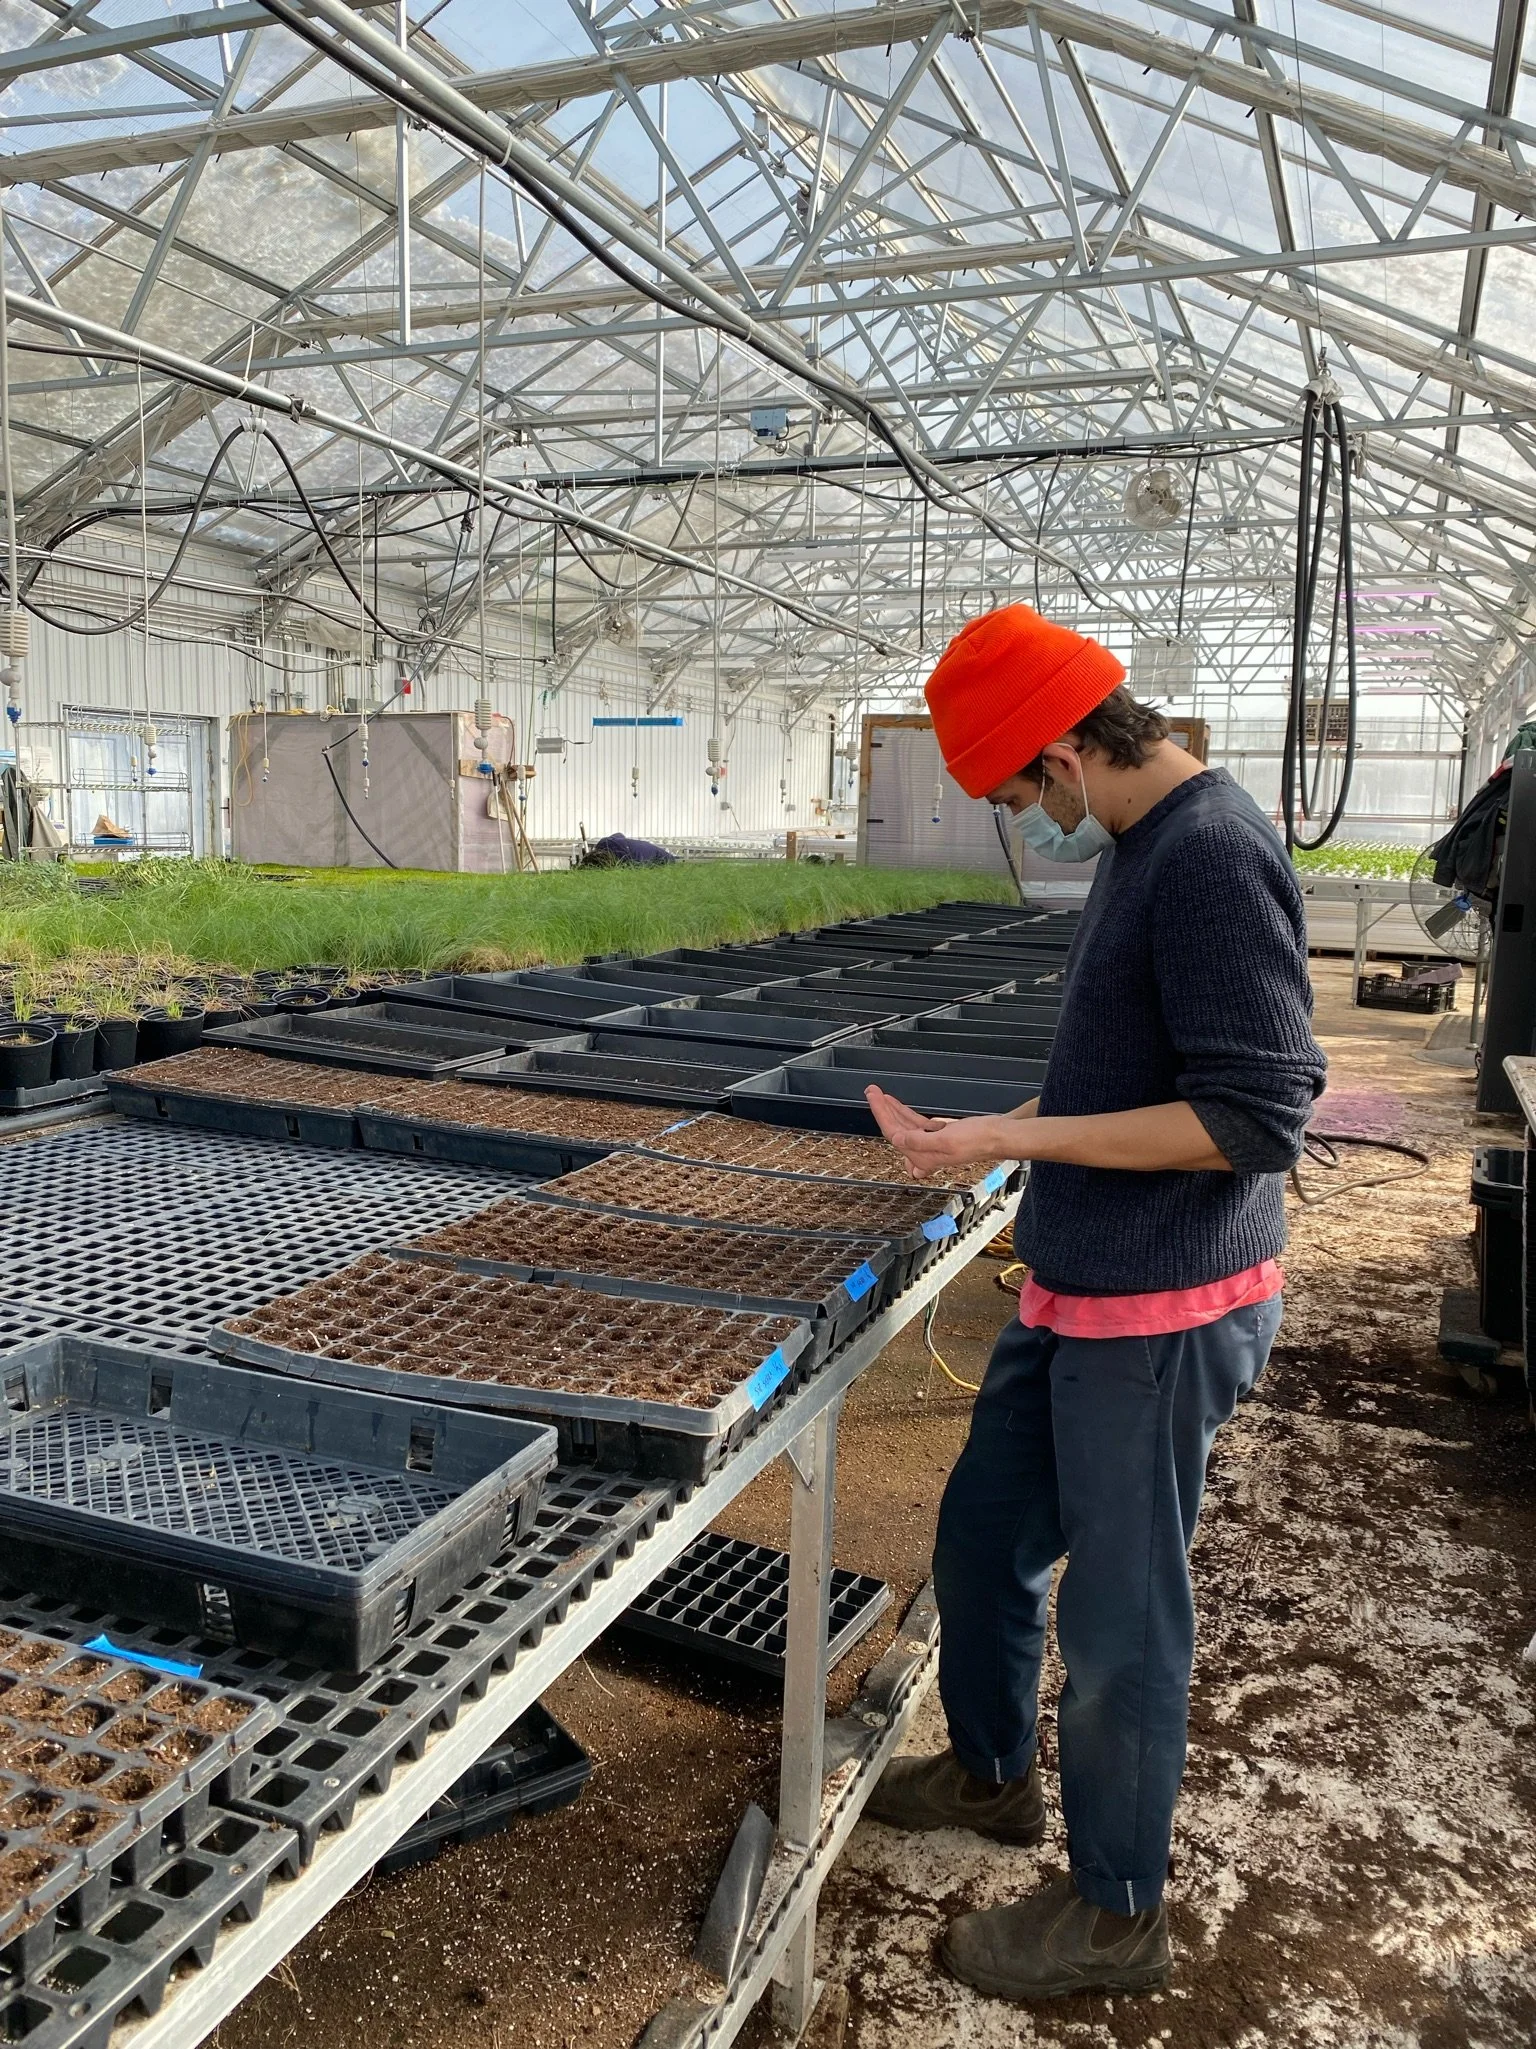
Tomatoes are heat-loving vegetables. We begin sowing seeds in the greenhouse in April (about 7-8 weeks before the final frost date) so that when it’s time to transplant, we can be certain that it will be warm enough.
When sowing tomato seeds, it’s important to give them space to grow. A good rule of thumb is to limit each tray cell or container to 2-3 seeds. Tweezers or even the tip of a pencil can be a useful tool in carefully moving them.
Tomatoes need warmth to germinate (80 degrees is great!). For those sowing seeds at home, think about placing your tray on top of a heater and make sure to keep the soil moist.
HARDENING OFF & TRANSPLATING - LATE SPRING
Since all of our crops start in our greenhouse, they’re protected from the elements and dramatic fluctuations in temperature. As a result, they have to go through a transition period called “hardening off” in which they’re gradually exposed to outdoor conditions before they’re transplanted in the ground.
When our tomato seedlings reach about 6-7 weeks old, we begin placing trays outdoors for a few hours at a time before bringing them back in for the night. It’s best to first place them in filtered sunlight and slowly increase their outdoor exposure over a 10-15 day period.
Once night time lows consistently bottom out at 50 degrees Fahrenheit, it’s time to put them into the ground. Historically, after Mother’s Day weekend is our favorite time to begin transplanting.
At our rooftop farms, we start our tomatoes in 10x20 inch trays that have 50 cells of 1.5 inches of depth. After about 2.5 months, they develop a healthy root system but haven’t reached the point of being root bound. Since our soil at the Navy Yard farm is only 12 inches deep, we transplant our seedlings directly into the ground. The choice between repotting your tomato seedlings and transplanting them into the ground depends on the environment you’re working in and where you started your crops. For those of you who are not restricted in your soil depth, we recommend repotting your tomato seedling into a larger starter pot and letting it grow as large as possible (but not unwieldy) before transplanting them into the ground.
TRELLISSING & PRUNING - EARLY SUMMER
About two weeks after transplanting, we begin trellising our tomatoes. It’s important to establish a system before tomatoes enter their peak growth; otherwise you might find your garden overwhelmed by tomato vines! The type of trellis you choose will depend on whether your tomato variety is indeterminate or determinate. Determinate varieties grow like a bush, inching upwards and sideways. For these tomatoes, cages are an excellent option. Indeterminate tomatoes however grow like a vine and need more support. Trellising systems for indeterminate varieties are more complex.
In this video, we’ll be trellising sungold tomatoes — an indeterminate variety. Since the soil at the Navy Yard farm is only 12” deep, we opt to use bamboo stakes; they drive into our soil well without harming our green roof system. Using three stakes, we create a tripod which is strong enough to withstand our rooftop elements while also providing support for our tomatoes. After building individual tripod units, we’ll begin cross-trellising and tying tripods together.
Before weaving your plant around their new trellises, you should prune them first. Pruning will help you control the growth of your tomato plant and increase its yield. Each plant will exhibit three types of foliage:
Tomato Leaf: This stem creates a 90 degree angle and can stay where it is!
Sucker: Every tomato leaf will have a corresponding sucker coming out at a 45 degree angle. Suckers grow into entirely new tomato plants with their own set of tomato leaves, suckers, and flowering branches. While it may seem counterintuitive to prune a sucker, it’s important as it gives the main tomato plant more energy to develop large, juicy tomatoes. Pinch those suckers off!
Flowering Branch: Above the sucker, you’ll find a a flowering branch that will soon grow tomatoes. Leave them!
HARVEST - LATE SUMMER
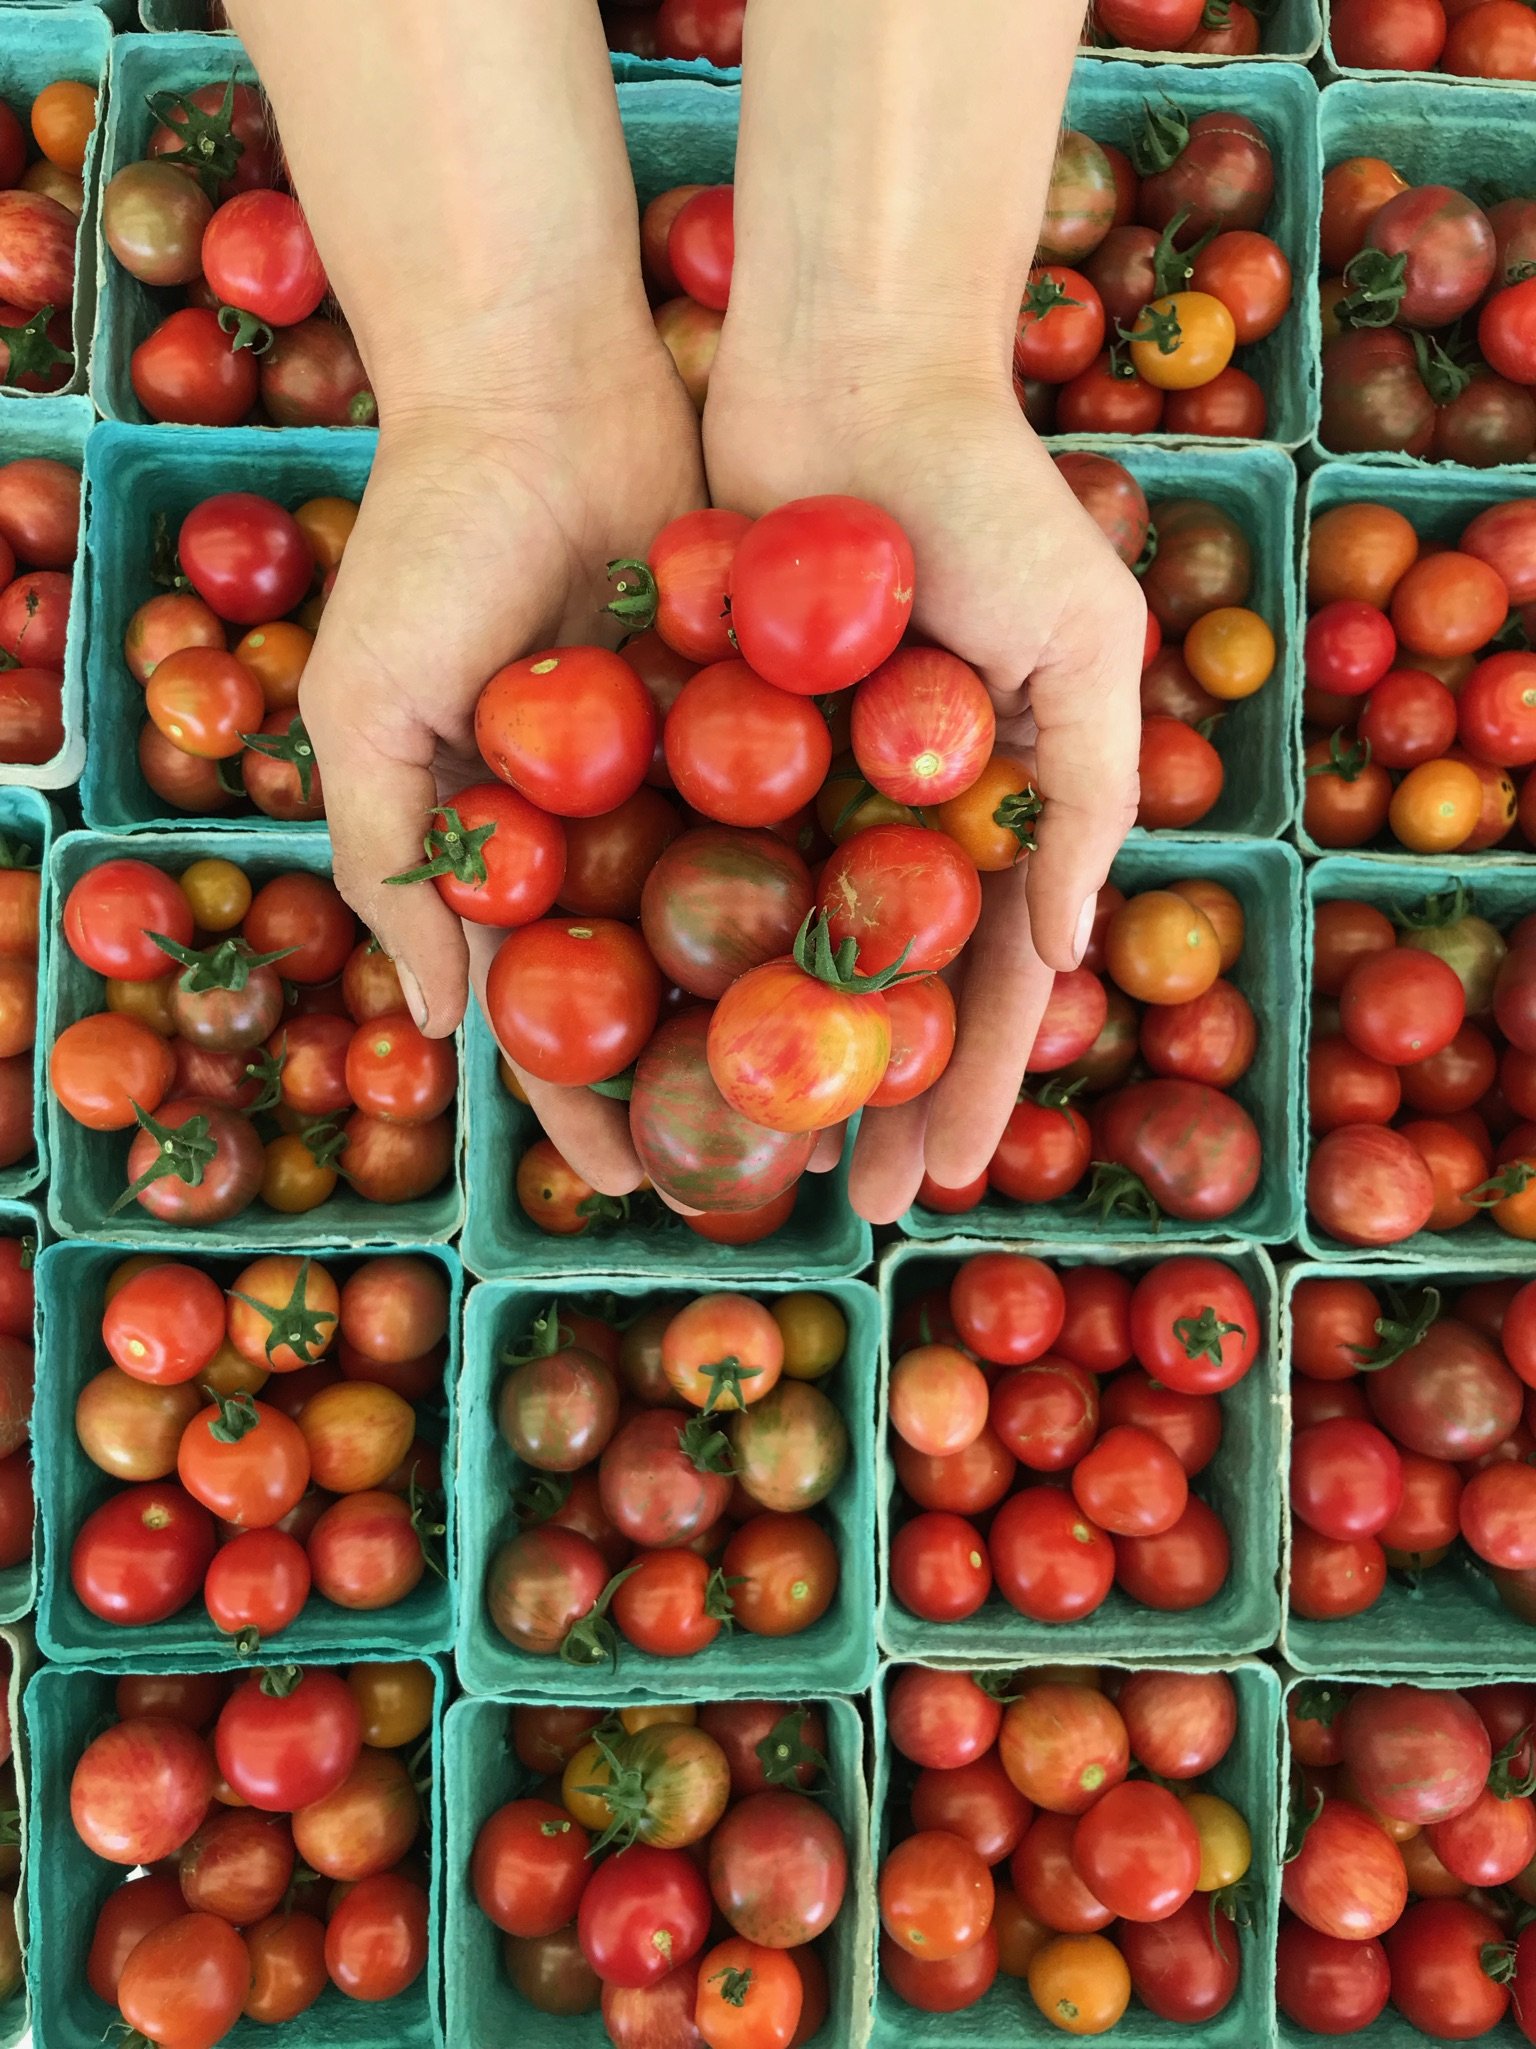
You know tomato season has arrived when you’re drenched in sweat two seconds after leaving the house. As a tomato ripens, its color deepens, it begins to soften, and it becomes fragrant. Your harvest strategy will depend on how your tomatoes will be used. If you’re picking them right before a meal, wait until they ripen on the vine! If you’re hoping to have them hang around for a few days, it’s best to pick them when their partially ripe.
Pro-Tip: Don’t refrigerate your tomatoes! Remove any part of the vine and store them at room temperature stem-side down. Moisture escapes from the top most quickly. By storing them upside down, it will retain its juiciness and won’t grow wrinkly.
WHERE CAN I FIND BROOKLYN GRANGE TOMATOES?
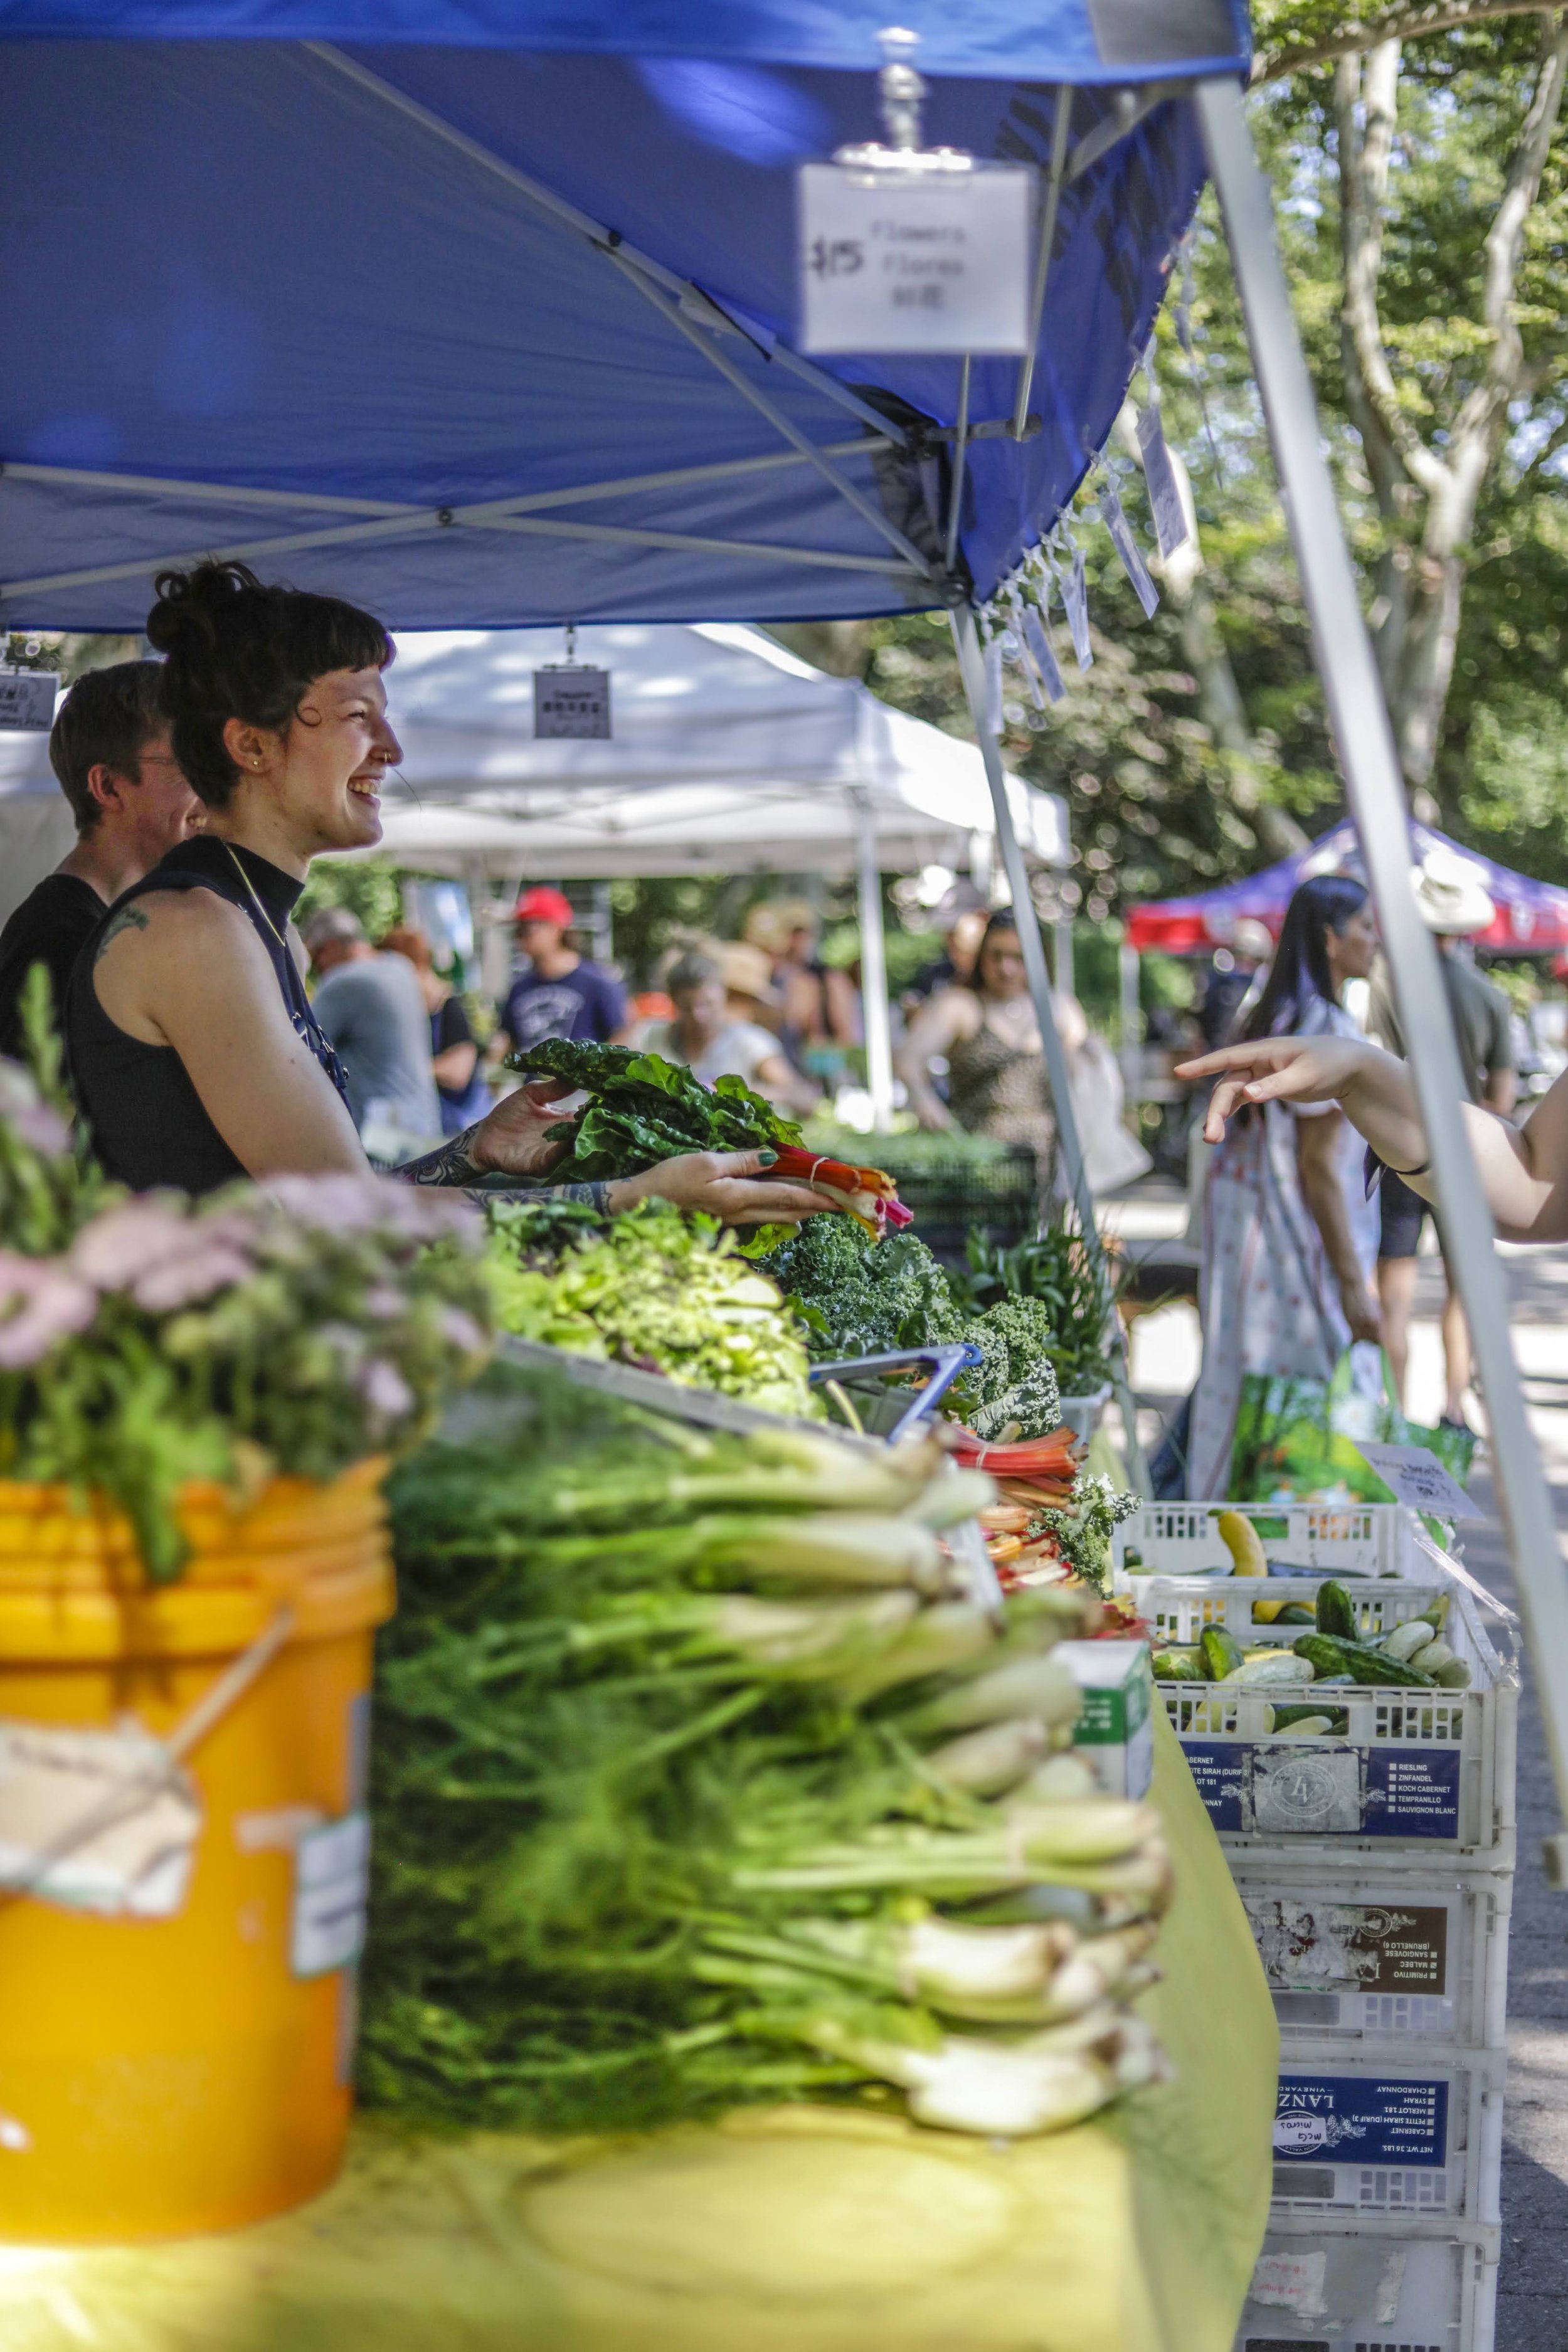
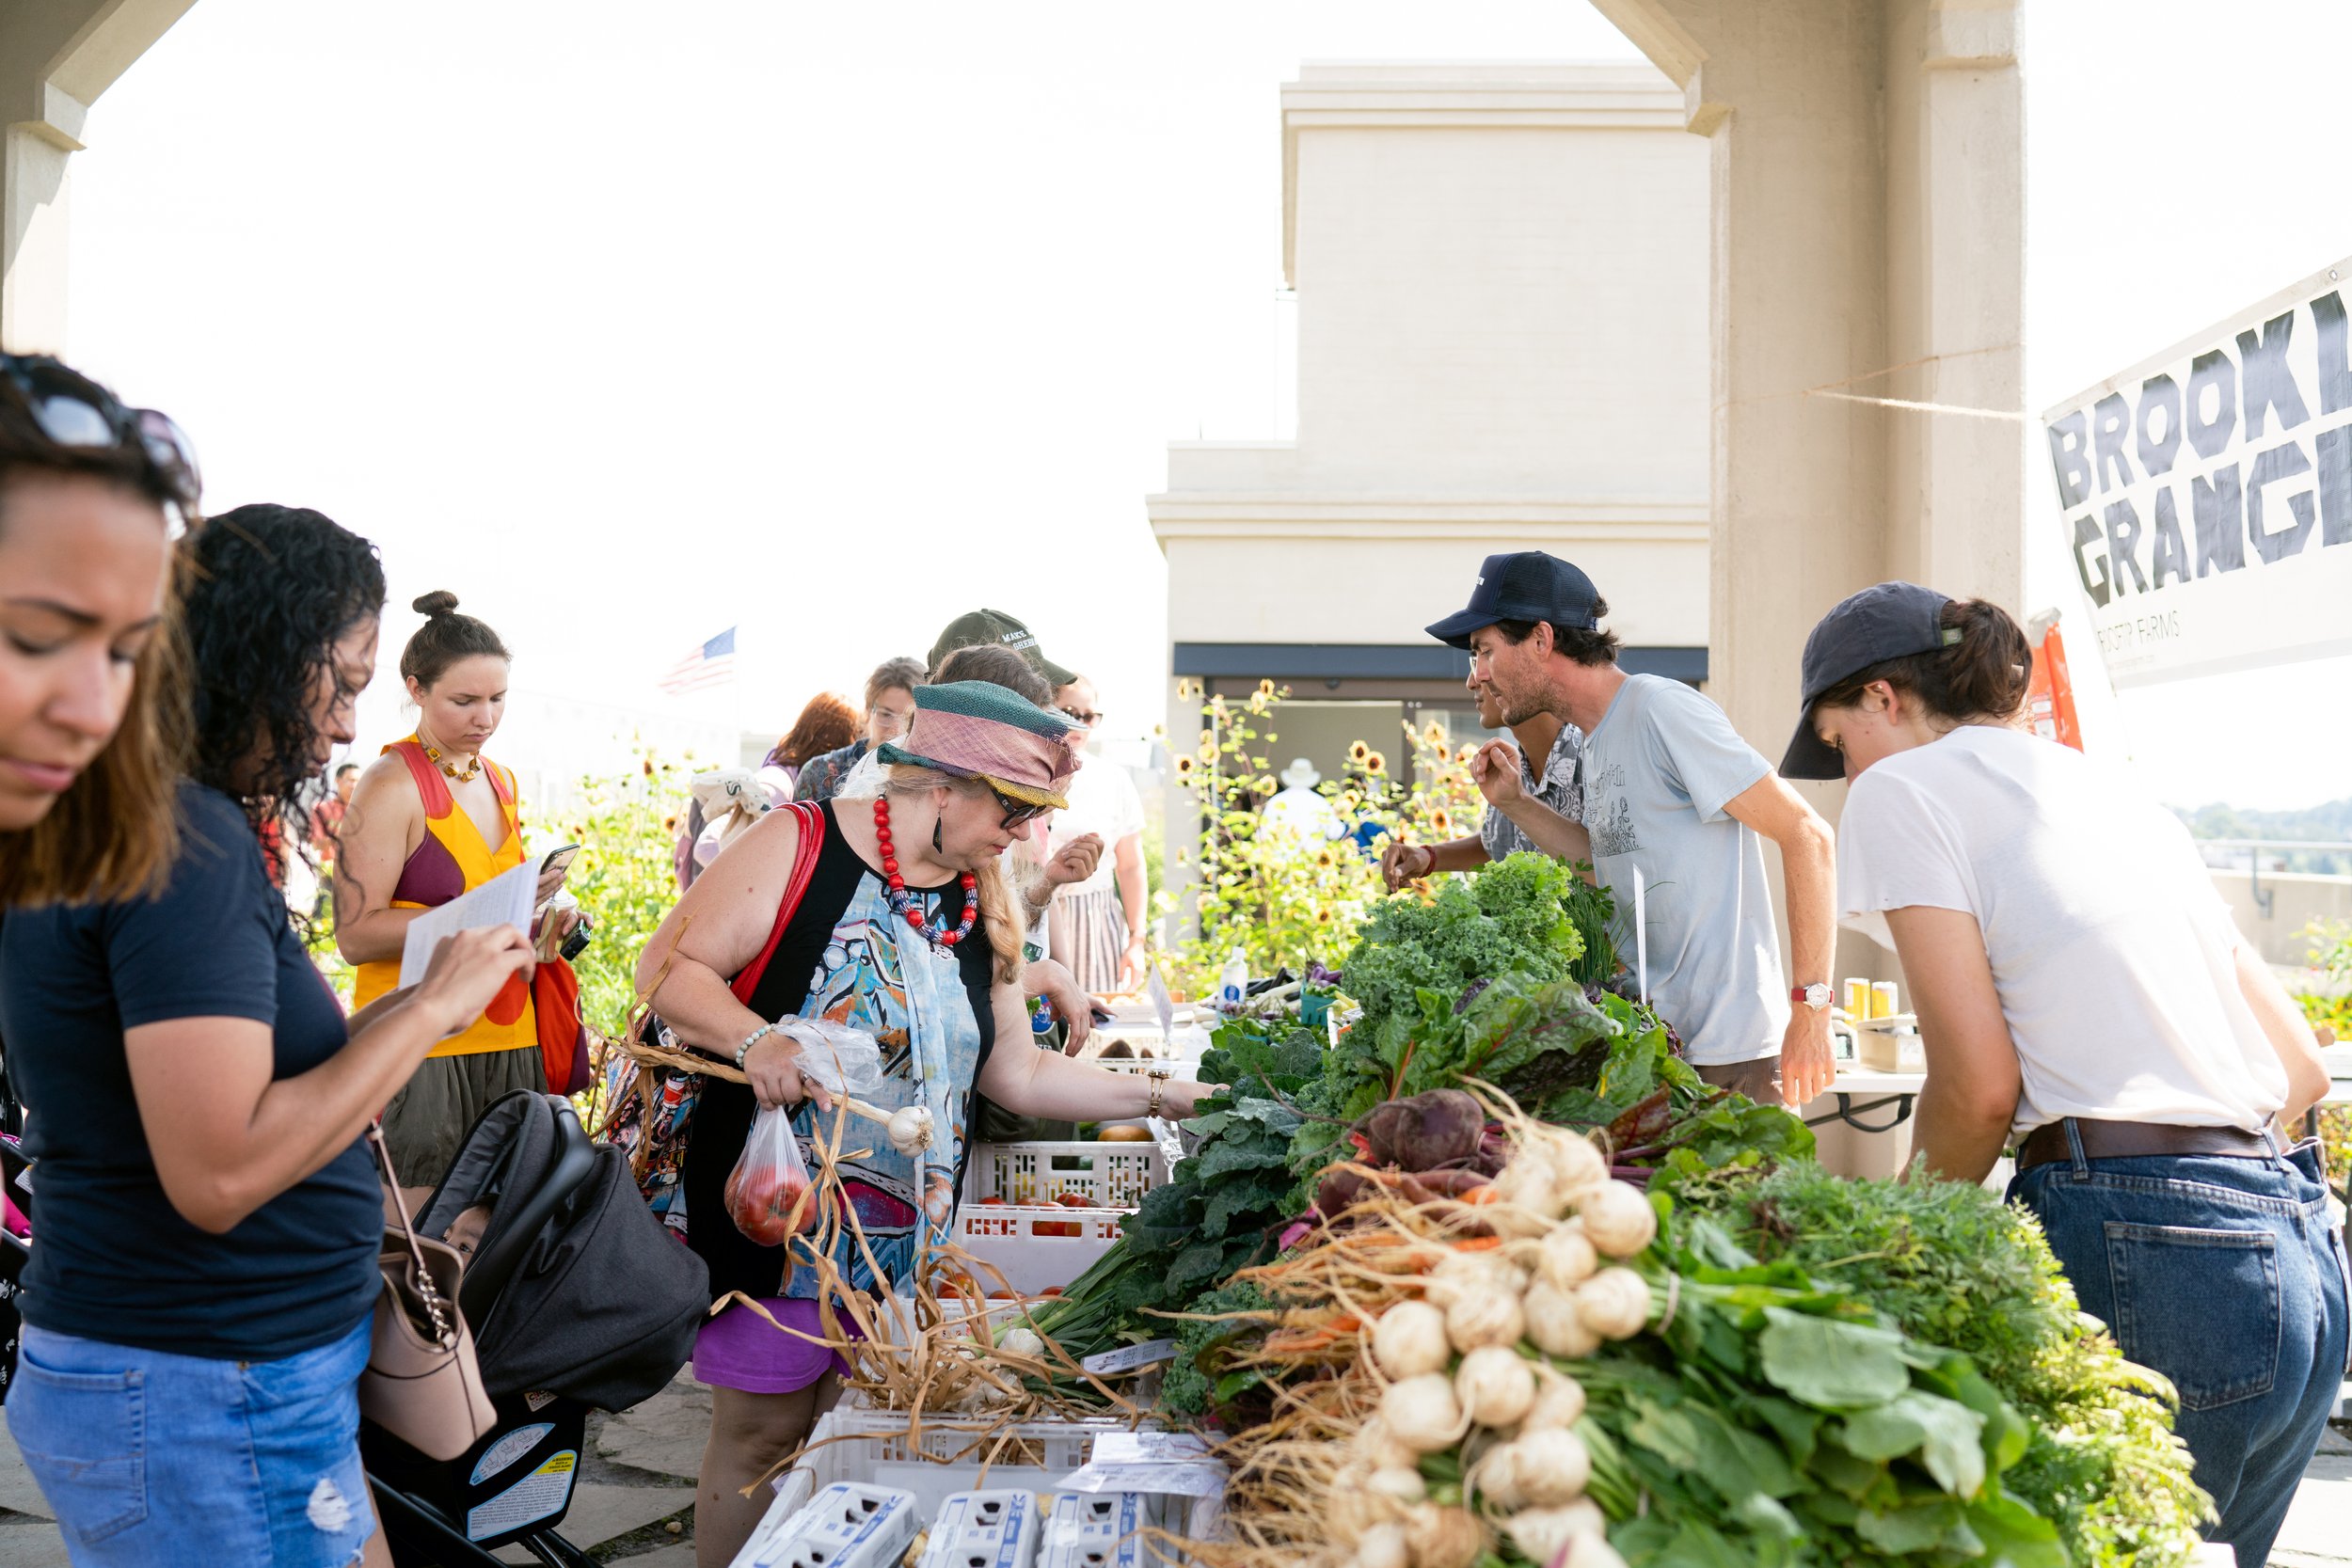
Through our Food Equity Funding Partnerships (FEFP), we work with mission-aligned partners like Blundstone and a network of community-based-organizations to grow and distribute 40% of our harvest for the community at no cost. Tomatoes distributed through our FEFP program can be found at The Table Food Pantry, Brooklyn Rescue Mission’s Urban Harvest Food Pantry, and TRANSgrediendo. We also sell our tomatoes at our weekly markets at McGolrick Park in Greenpoint and at our Sunset Park farm! For folks interested in purchasing tomato seedlings from our greenhouse, come by our annual early summer Family Farm Day & Plant Sale event, or checkout Crest Hardware!